Adrianne's creative space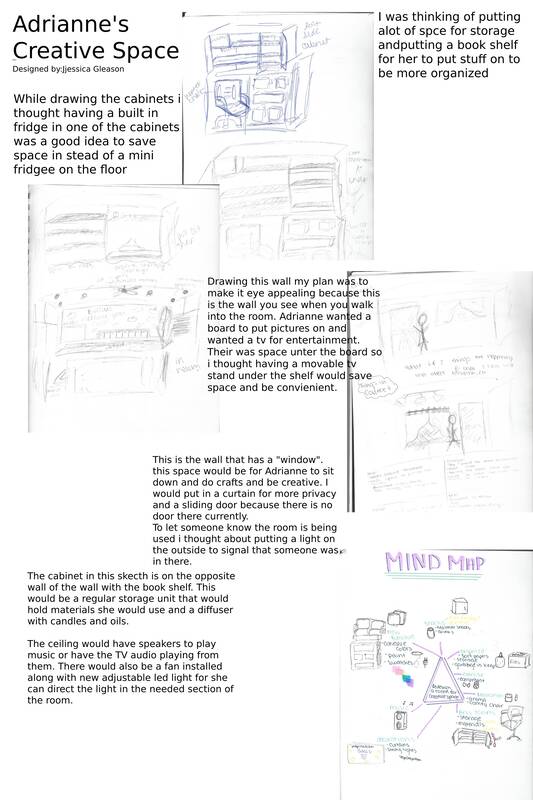
|
Exhibition text:
Adriannes's creative space is a foam cord model of a room in the basement of my house. I am going to redesign and organize this room to create a space for Adrianne to do multiple things. I took inspiration from David Rockwell, an industrial designer, and how he used the space he is given. |
Who? What was needed?
|
I met:
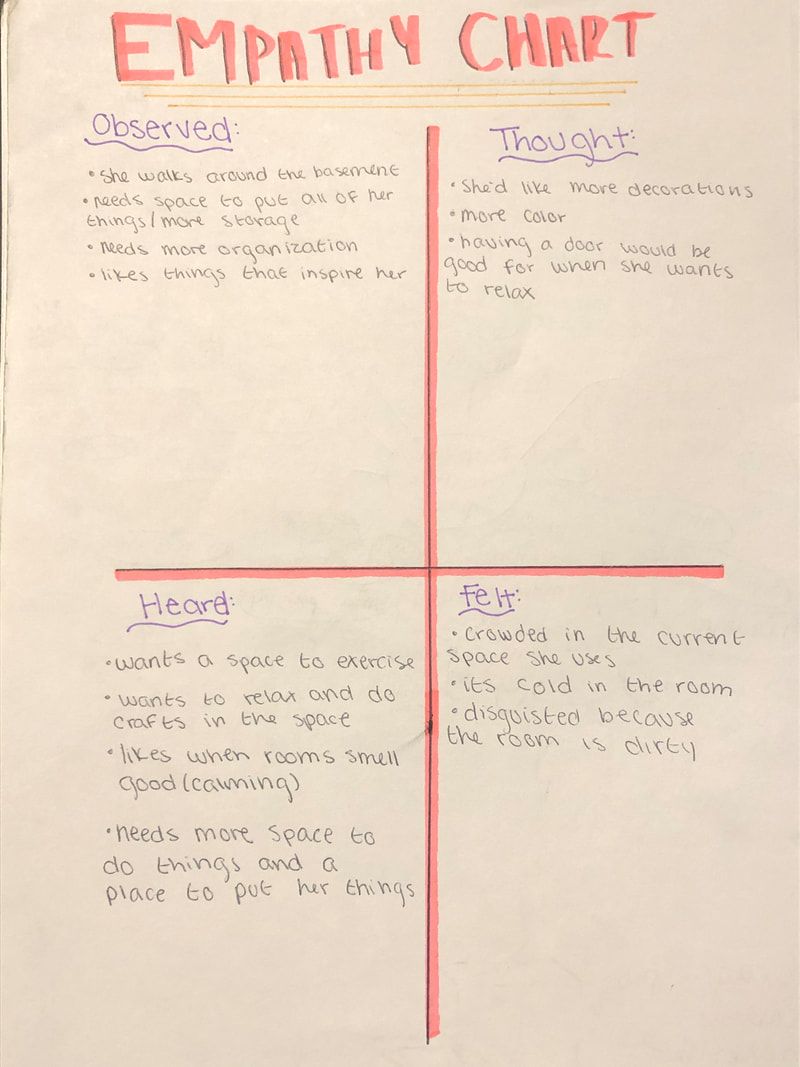
A fifty year old mother who needs a space for exercising, relaxing and doing arts and crafts. More than one person will be utilizing this space and more than one person may be on the room doing separate things at the same time. |
We were amazing to learn:
She needs a space to put all of her belongings, needs more organization and needs room to walk around. She doesn't want to feel crowed and wants to feel relaxed. She would like the room to smell good and have a cozy vibe.
It would make a great difference if I could:
Redesign a room in the basement to create a larger space that allows multiple people to be doing separate things (relaxing, exercise and crafting), while making to room appealing and welcoming: decorate, organize, and paint walls.
Mind Mapping
|
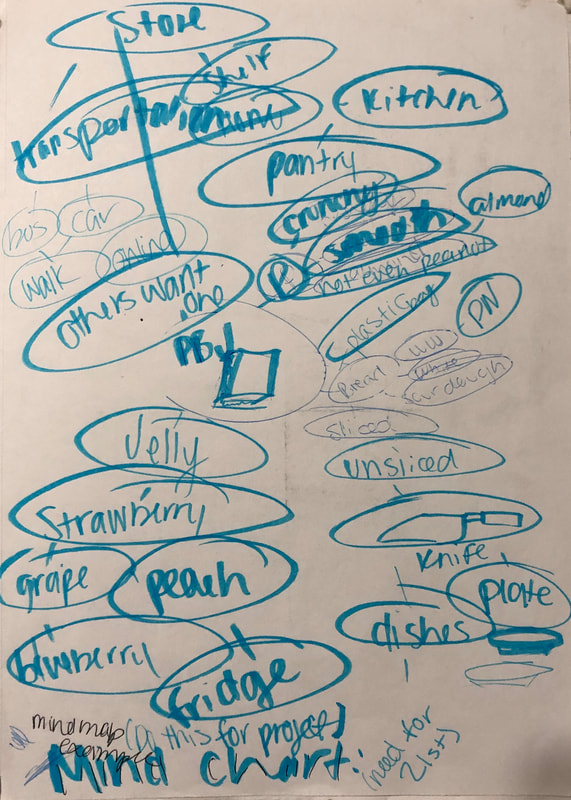
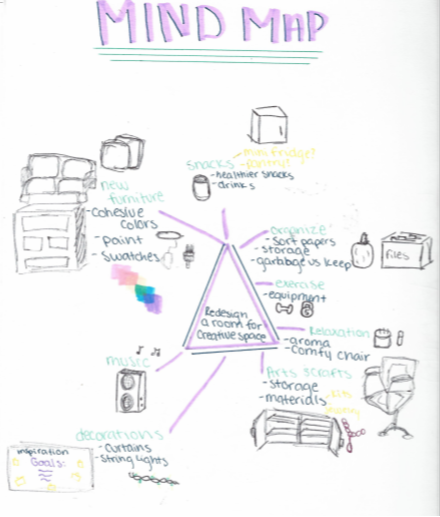
Mind mapping is brainstorming in the moment. It is a visual version of brainstorming. By having a mind map it allows more ideas to come to mind.
My mind map for this particular project concentrated on adding and working with things that were already in the existing room. The process of creating a mind map allowed me to come up with new ideas that came to my head, which made me think of things I didn't think of before.
|
Inspiration:
|
An industrial designer I took inspiration from was David Rockwell. Rockwell is an architecture and interior designer, who creates many unique room and buildings. In particular I was looking on how he used the space of a small room to make it more efficient. He placed things in a certain way to make the room have a certain look and feel which I took inspiration for the way I would set up my room.
|
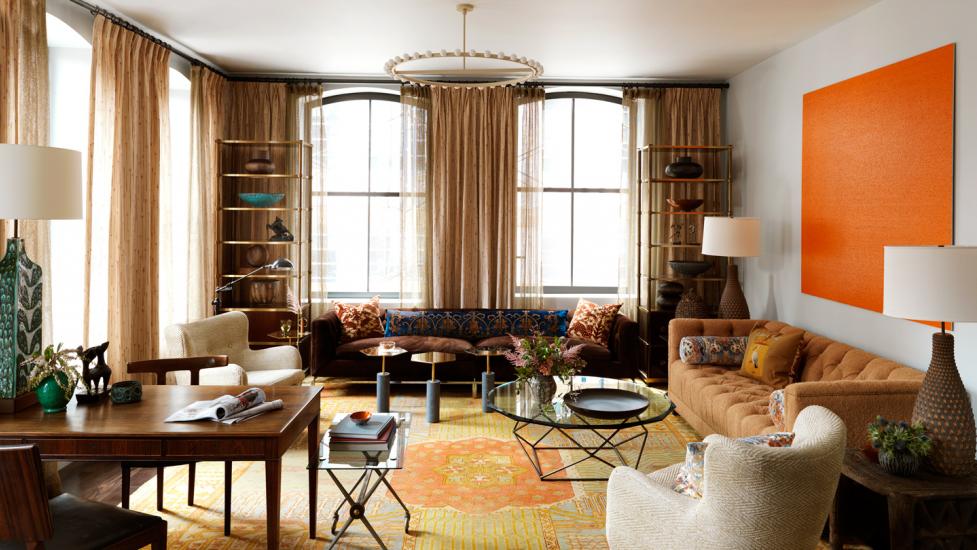
“Rockwell Group.” Designer Visions for House Beautiful, Rockwell Architecture, 2019, https://www.rockwellgroup.com/projects/designer-visions-for-house-beautiful.
|
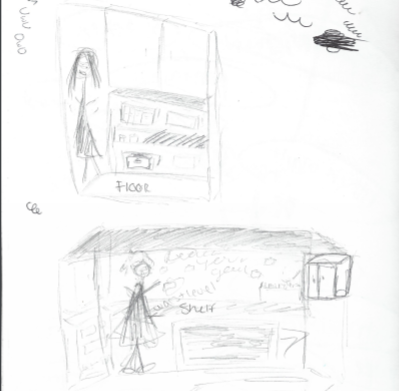
Ideation sketches:
|
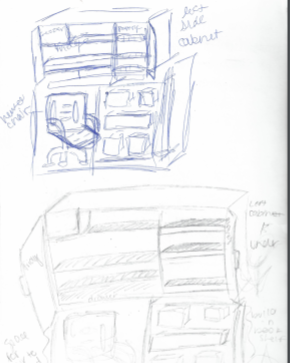
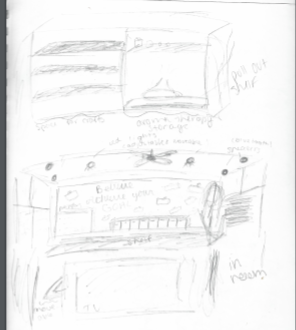
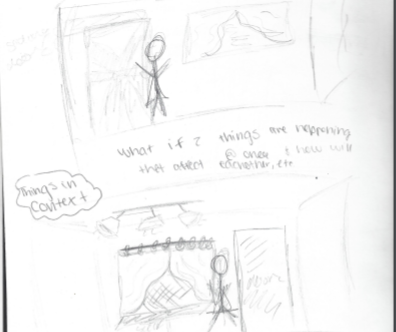
Throughout drawing my planning sketches I thought about where to place things and how big they should be compared to other things in the room. I also tried putting more storage into my sketches since that was something that was needed in the space. Incorporating storage to make the room more open was a big focus I had while drawing. Something I also thought about was the transitioning between activities and how to make it easier for Adrianne to transition from exercising to doing arts and crafts. I also thought about the decor in the room to make the room seem more comforting for her while she relaxes to allow her to go into the room and relieve any stress she may have from work.
|
Process:
|
Experimentation:
The major thing I experimented with was where I would put things in the room. I mainly utilized the things that were in the room already, I just simply came up with ideas on how to improve them and make the room better. I thought of turning one of the cabinets in the room into a mini fridge to save some space on the floor and having a movable TV stand for she can move the TV where she wanted it at any given time. The main thing that took up the most space that I added was a small bookshelf under on of the cabinets for more storage for smaller things she may have. |
|
Process:
-First I brainstormed about what I wanted to do for this project. Once I figured out the problem I wanted to solve for this project i began to do mind mapping.
-Once mind mapping was finished I began to sketch what the room looked like and started to add my ideas to that. Once drawing the room I began to draw specific things up close: like the cabinets and what I would put in them. Once I had the sketches of the room I drew figures in the room to show the size of everything.
-After finishing my sketches I began to create my board filled with everything I did for the project in Photopea. Once i was finished with the Photopea document I printed it out to put onto a piece of foam cord.
-After printing i cut the sheet to size and began to spray adhesive glue on the back of the paper. Then I asked someone to help me to put the large piece of paper on the foam cord, slowly pressing the paper down smoothly to push out any air bubbles and get a clean board. Once the paper was completely on the board I trimmed any extra paper that was hanging off the board. The board is meant to be taken to MIAD and be presented.
